> ## Documentation Index
> Fetch the complete documentation index at: https://meilisearch-6b28dec2-add-render-template-route.mintlify.site/llms.txt
> Use this file to discover all available pages before exploring further.
# First Project
> Learn how to create your first Meilisearch Cloud project.
This tutorial walks you through setting up [Meilisearch Cloud](https://meilisearch.com/cloud), creating a project and an index, adding documents to it, and performing your first search with the default web interface.
You need a Meilisearch Cloud account to follow along. If you don't have one, register for a 14-day free trial account at [https://cloud.meilisearch.com/register](https://cloud.meilisearch.com/register?utm_campaign=oss\&utm_source=docs\&utm_medium=cloud-quick-start).
## Creating a project
To use Meilisearch Cloud, you must first create a project. Projects act as containers for indexes, tasks, billing, and other information related to Meilisearch Cloud.
Click the "New project" button on the top menu. If you have a free trial account and this is your first project, the button will read "Start free trial" instead:
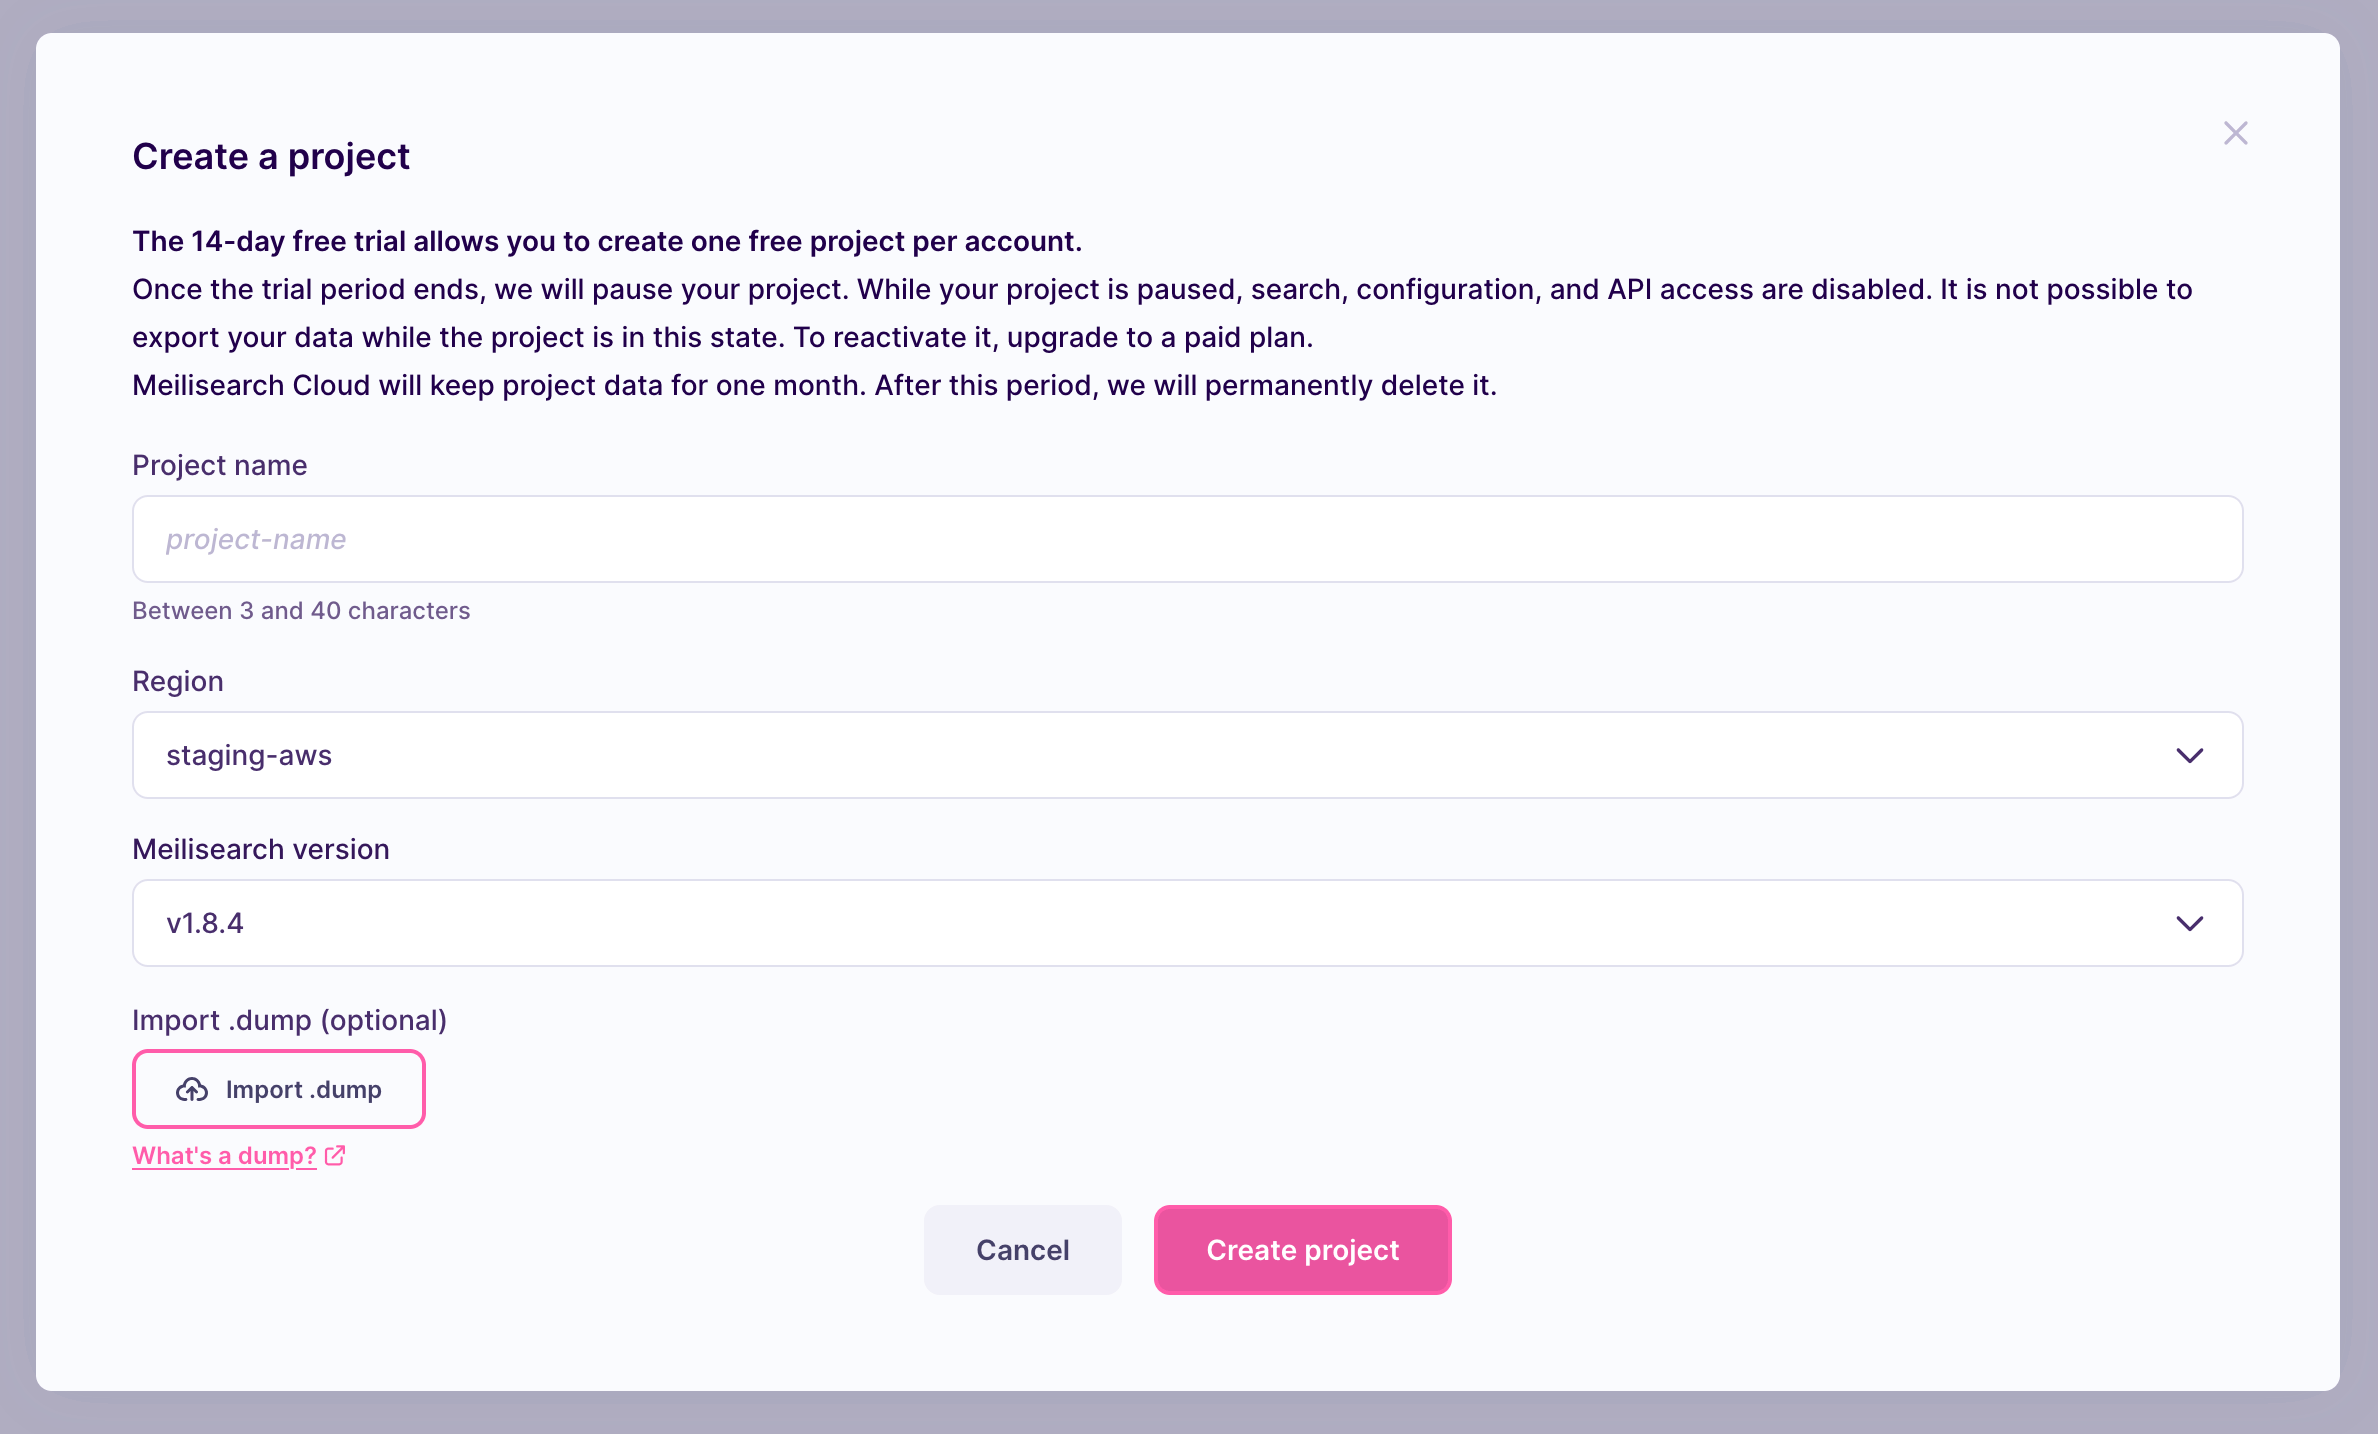
 Name your project `meilisearch-quick-start` and select the region closest to you, then click on "Create project":
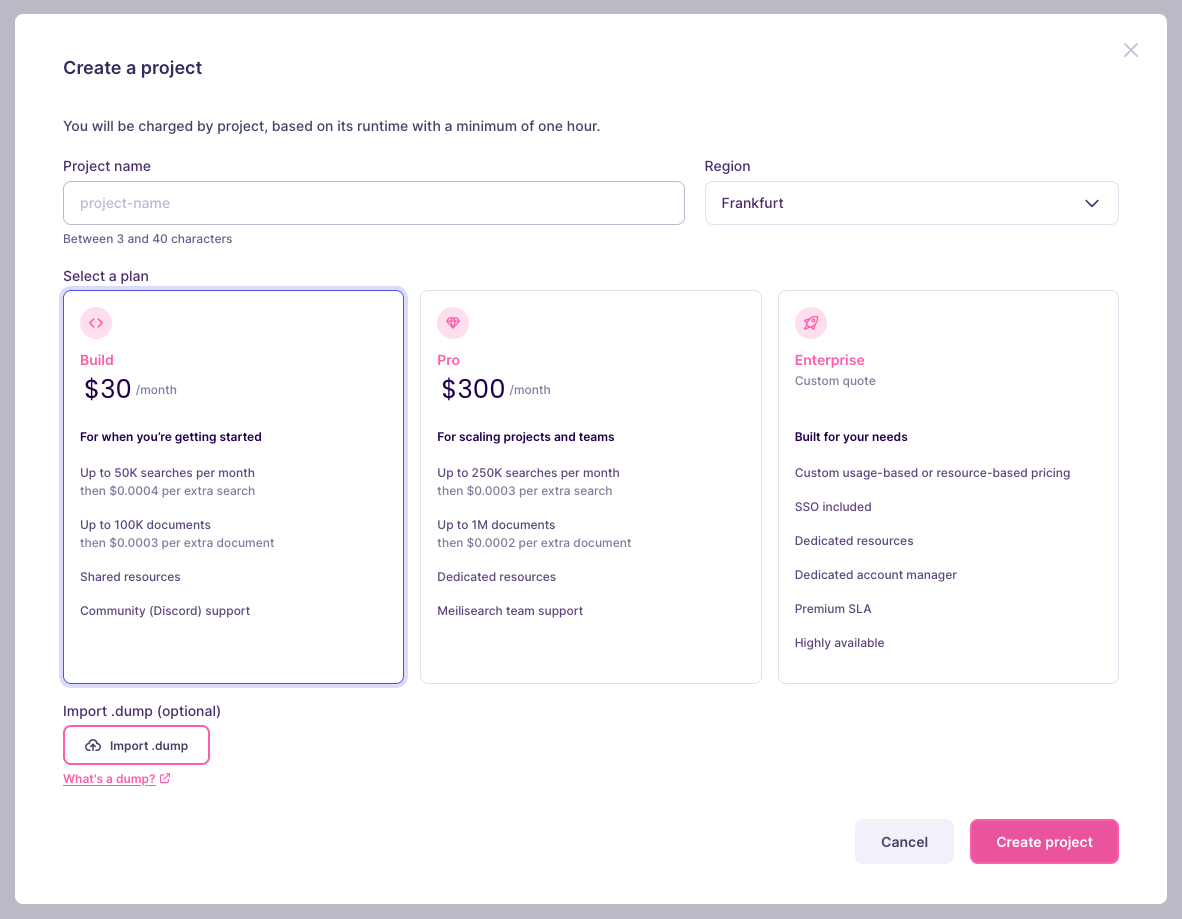
 If you are not using a free trial account, you must also choose a billing plan based on the size of your dataset and number of searches per month:
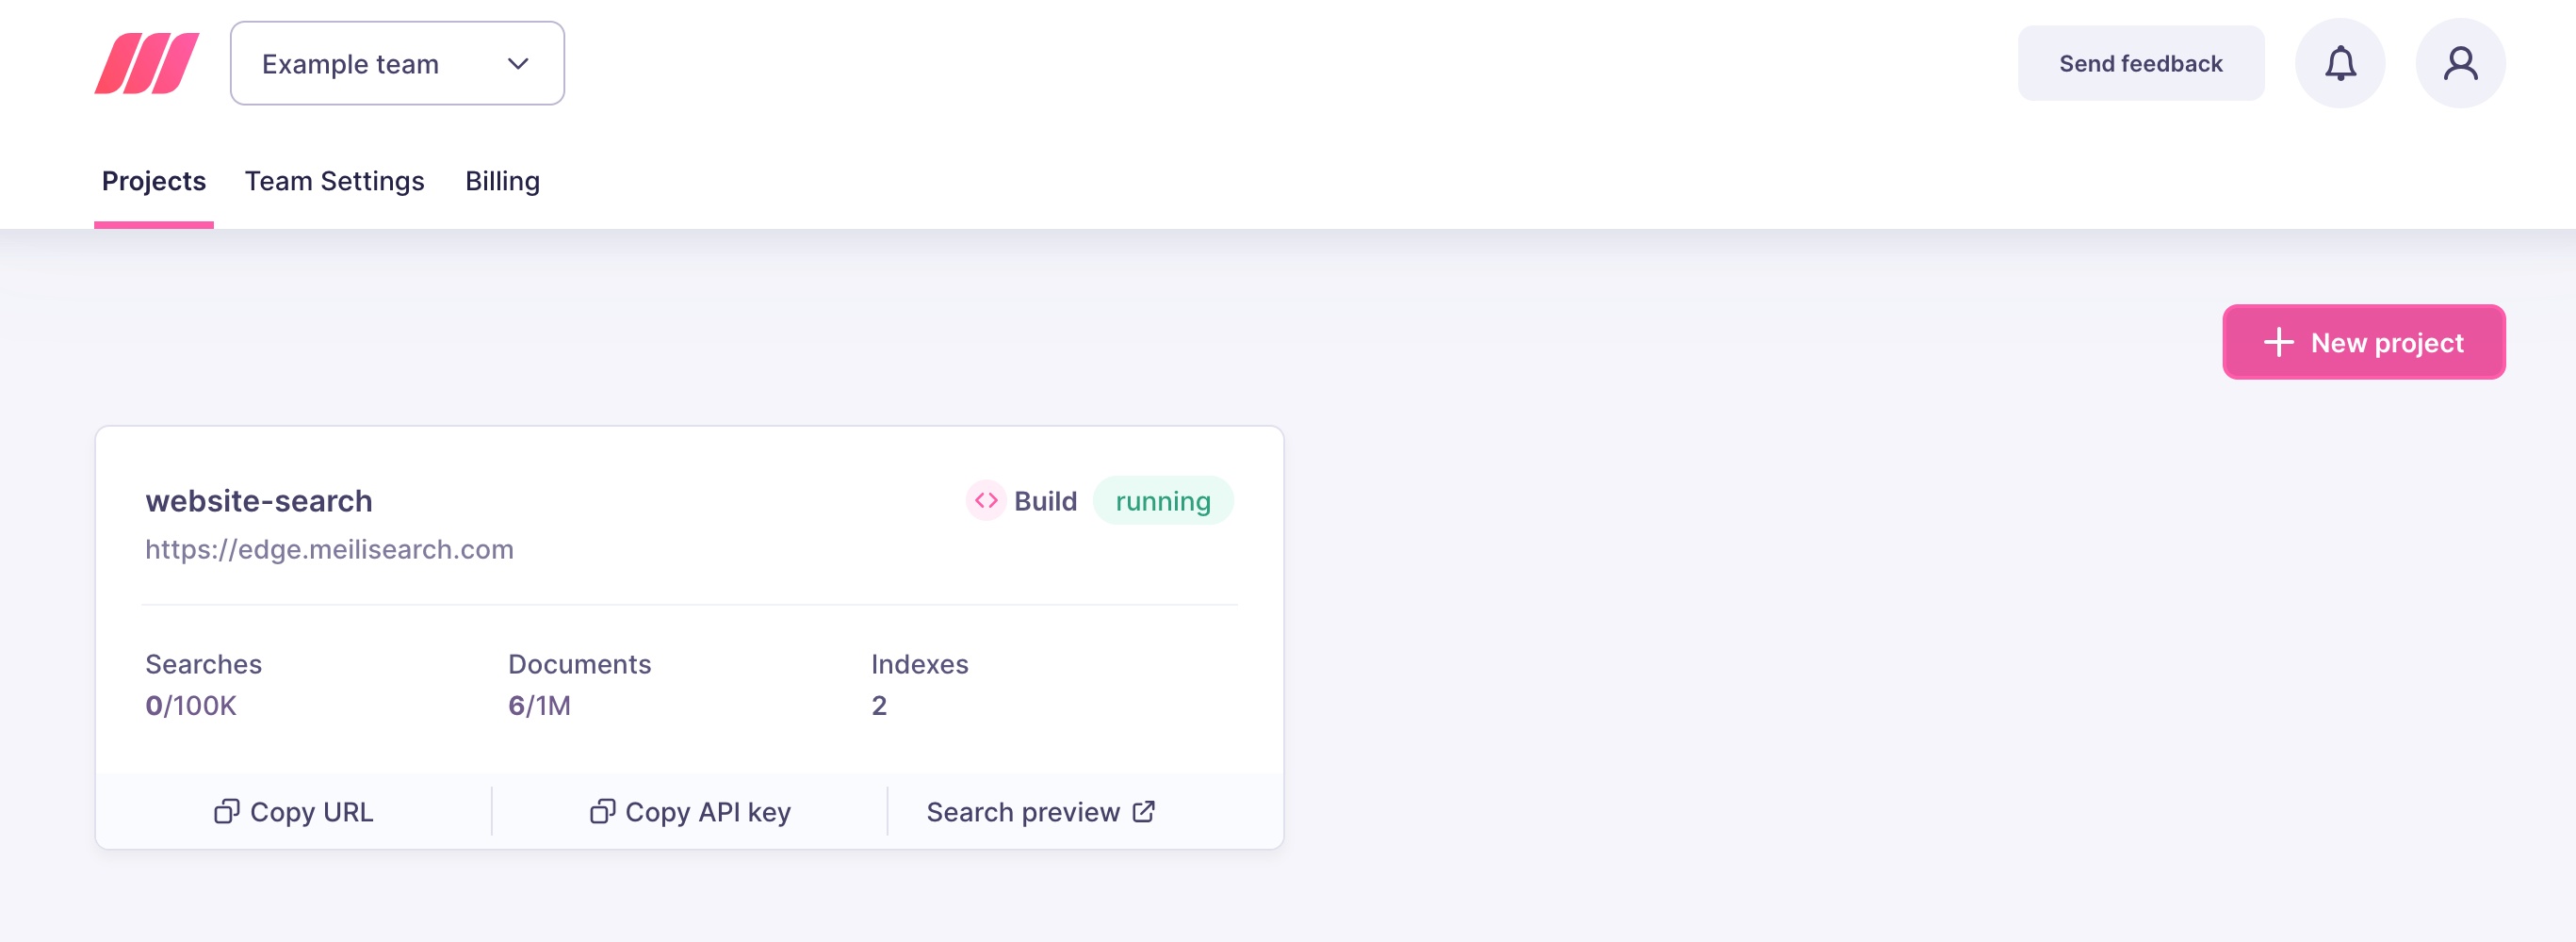
 Creating your project might take a few minutes. Check the project list to follow its status. Once the project is ready, click on its name to go to the project overview page:
 ## Creating an index and adding documents
After creating your project, you must index the data you want to search. Meilisearch stores and processes data you add to it in indexes. A single project may contain multiple indexes.
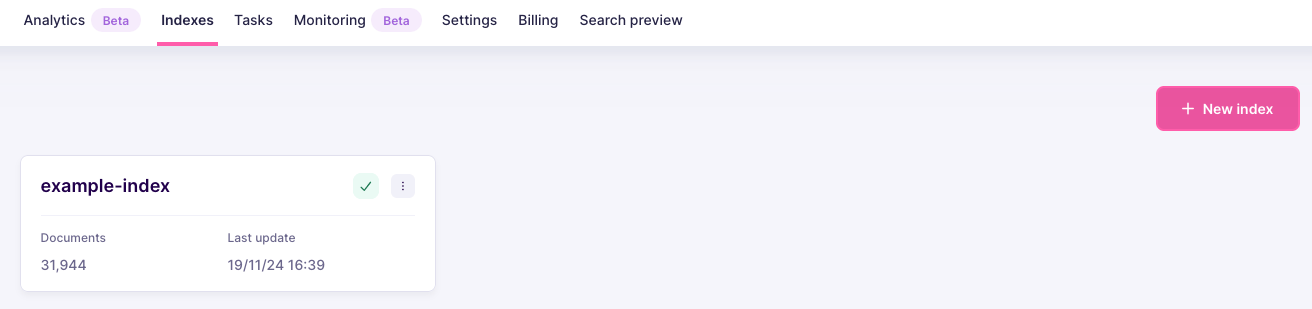
First, click on the indexes tab in the project page menu:
## Creating an index and adding documents
After creating your project, you must index the data you want to search. Meilisearch stores and processes data you add to it in indexes. A single project may contain multiple indexes.
First, click on the indexes tab in the project page menu:
 This leads you to the index listing. Click on "New index":
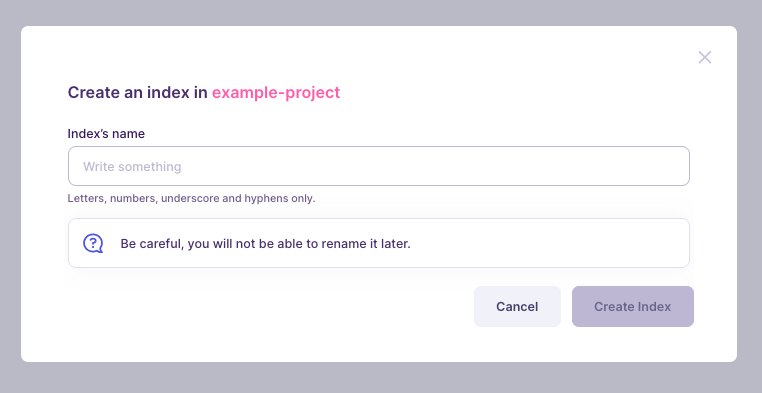
 Write `movies` in the name field and click on "Create Index":
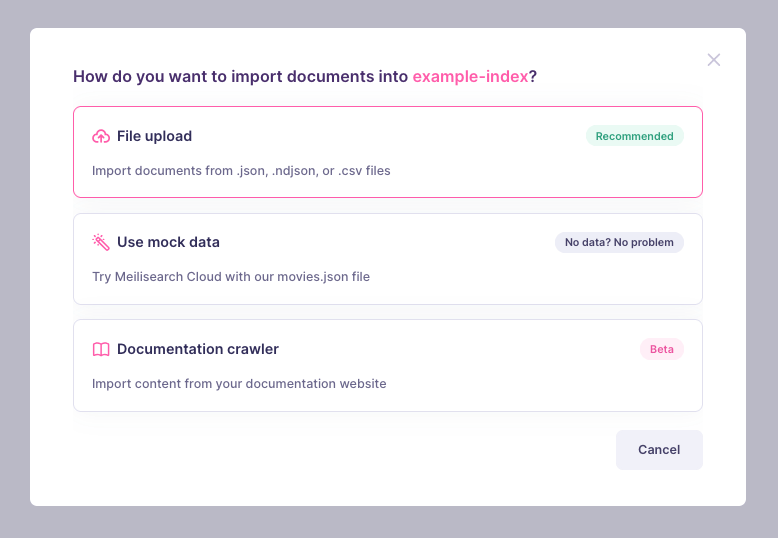
 The final step in creating an index is to add data to it. Choose "File upload":
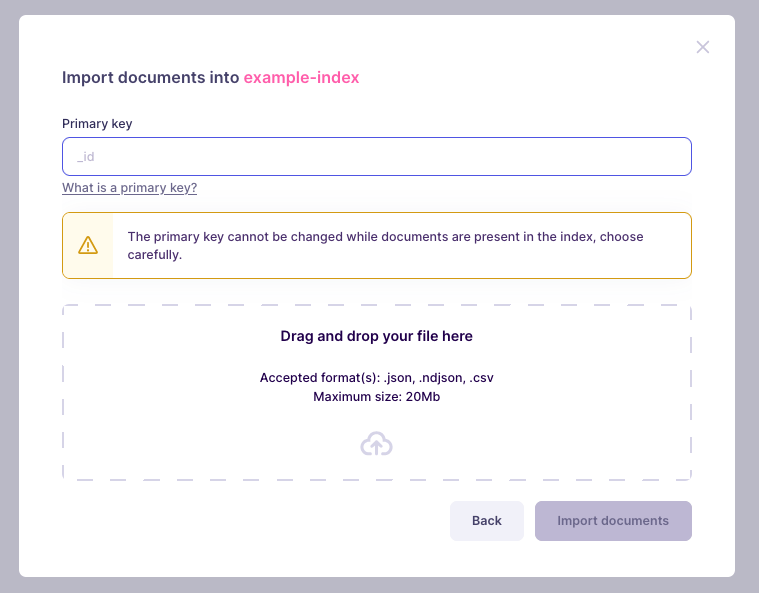
 Meilisearch Cloud will ask you for your dataset. To follow along, use this list of movies. Download the file to your computer, drag and drop it into the indicated area, then click on "Import documents":
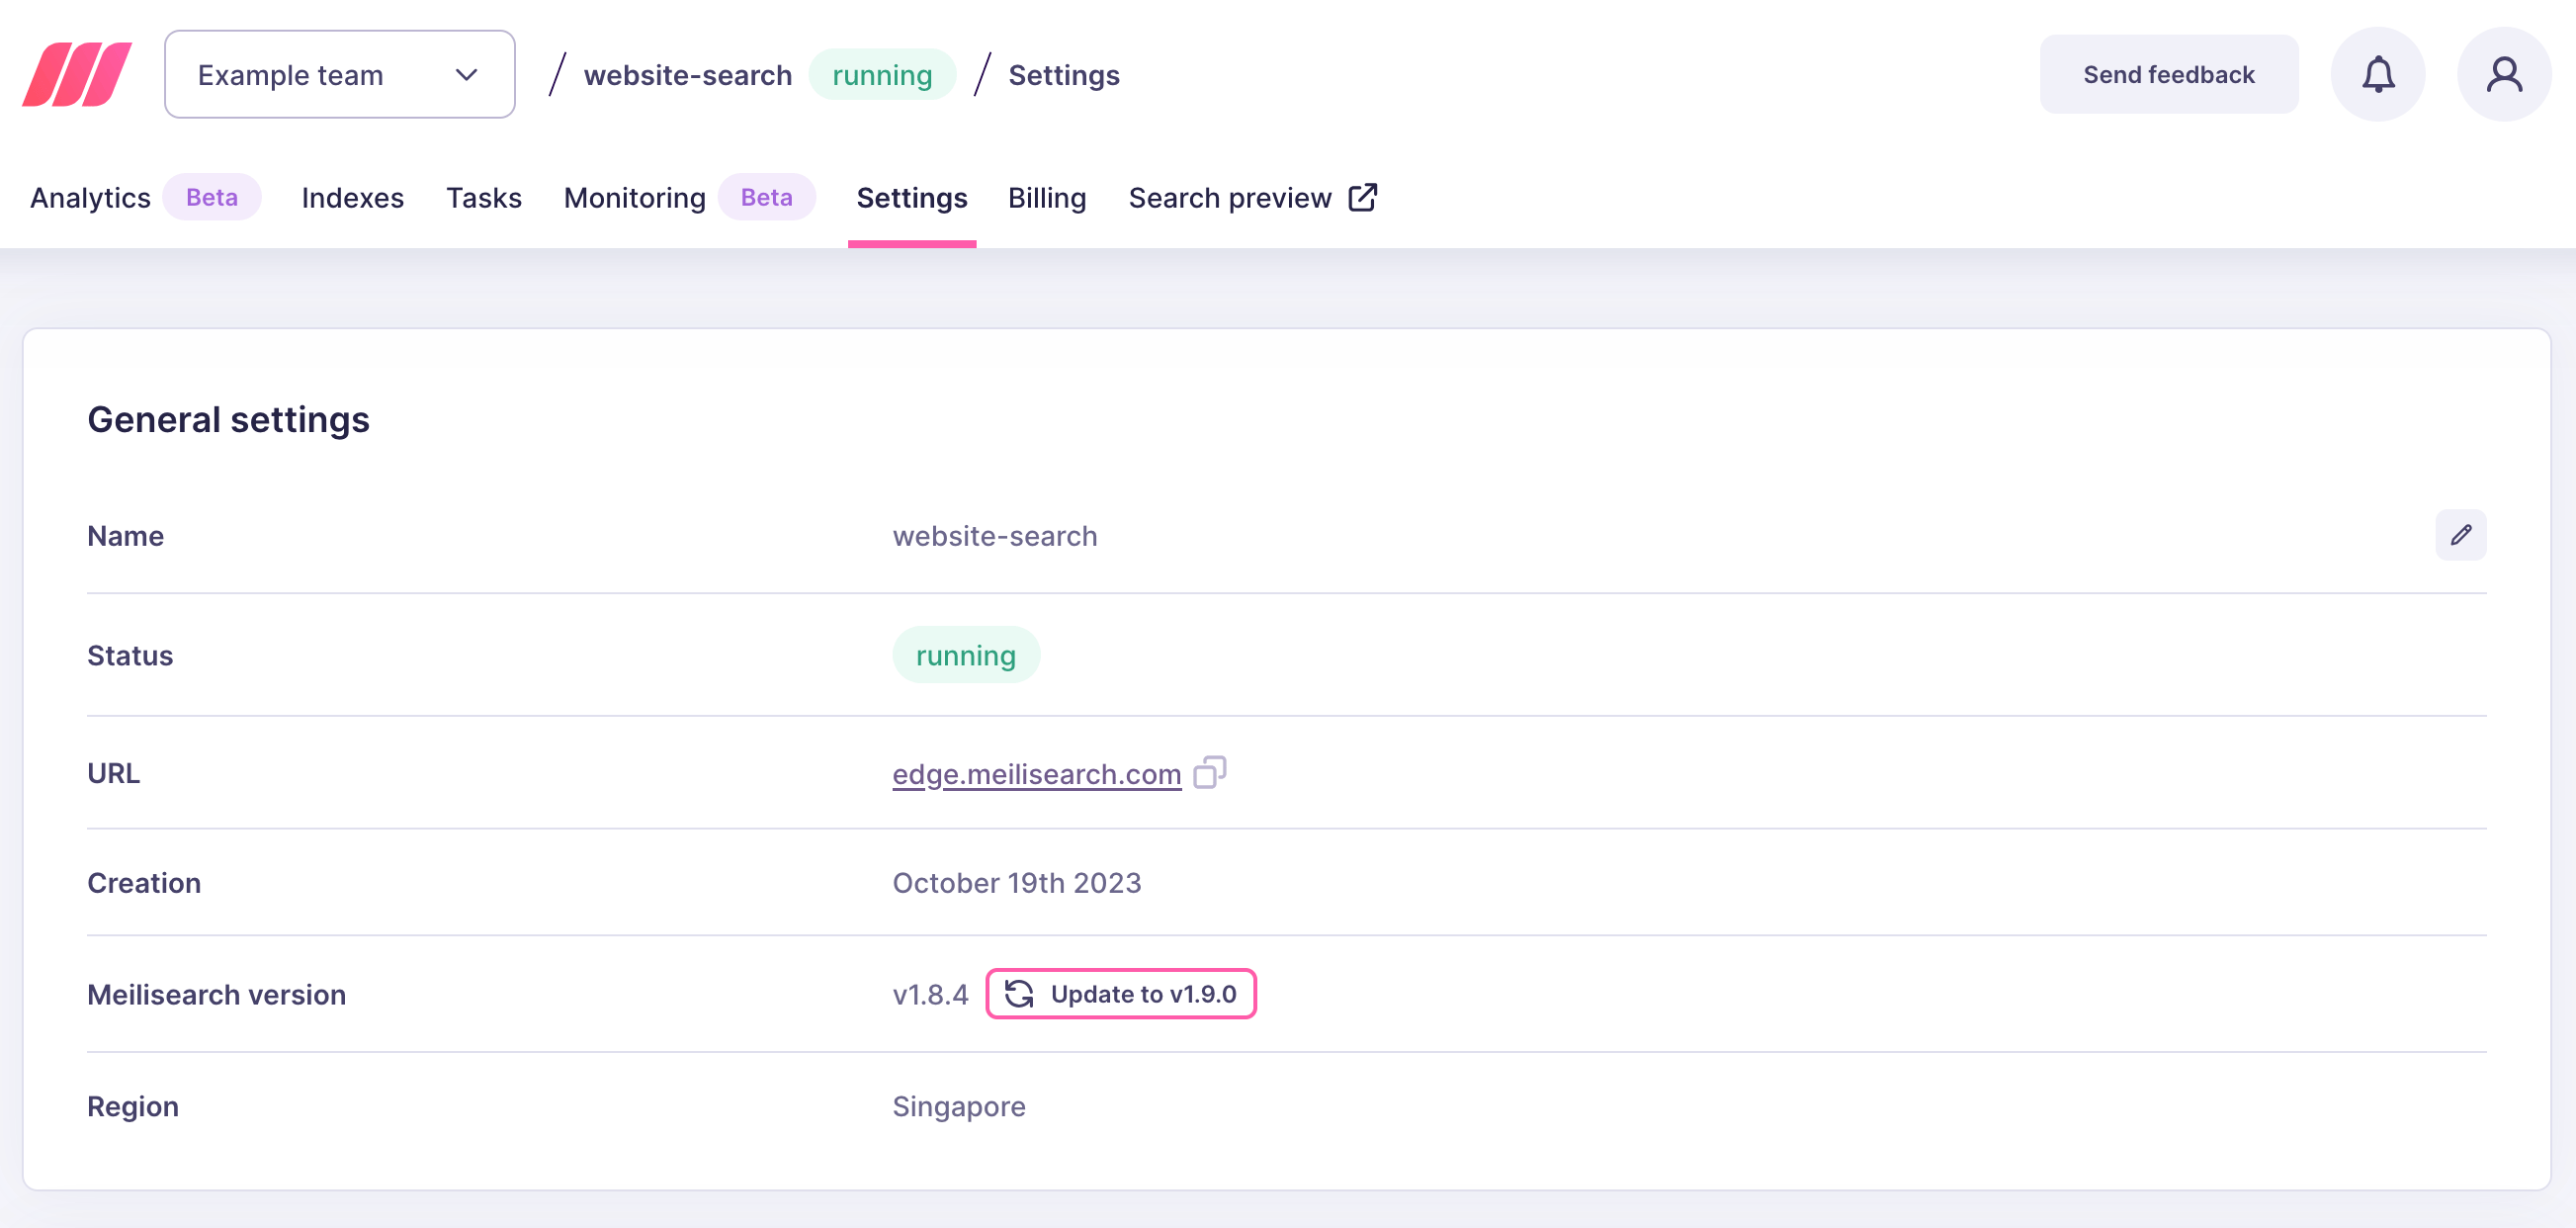
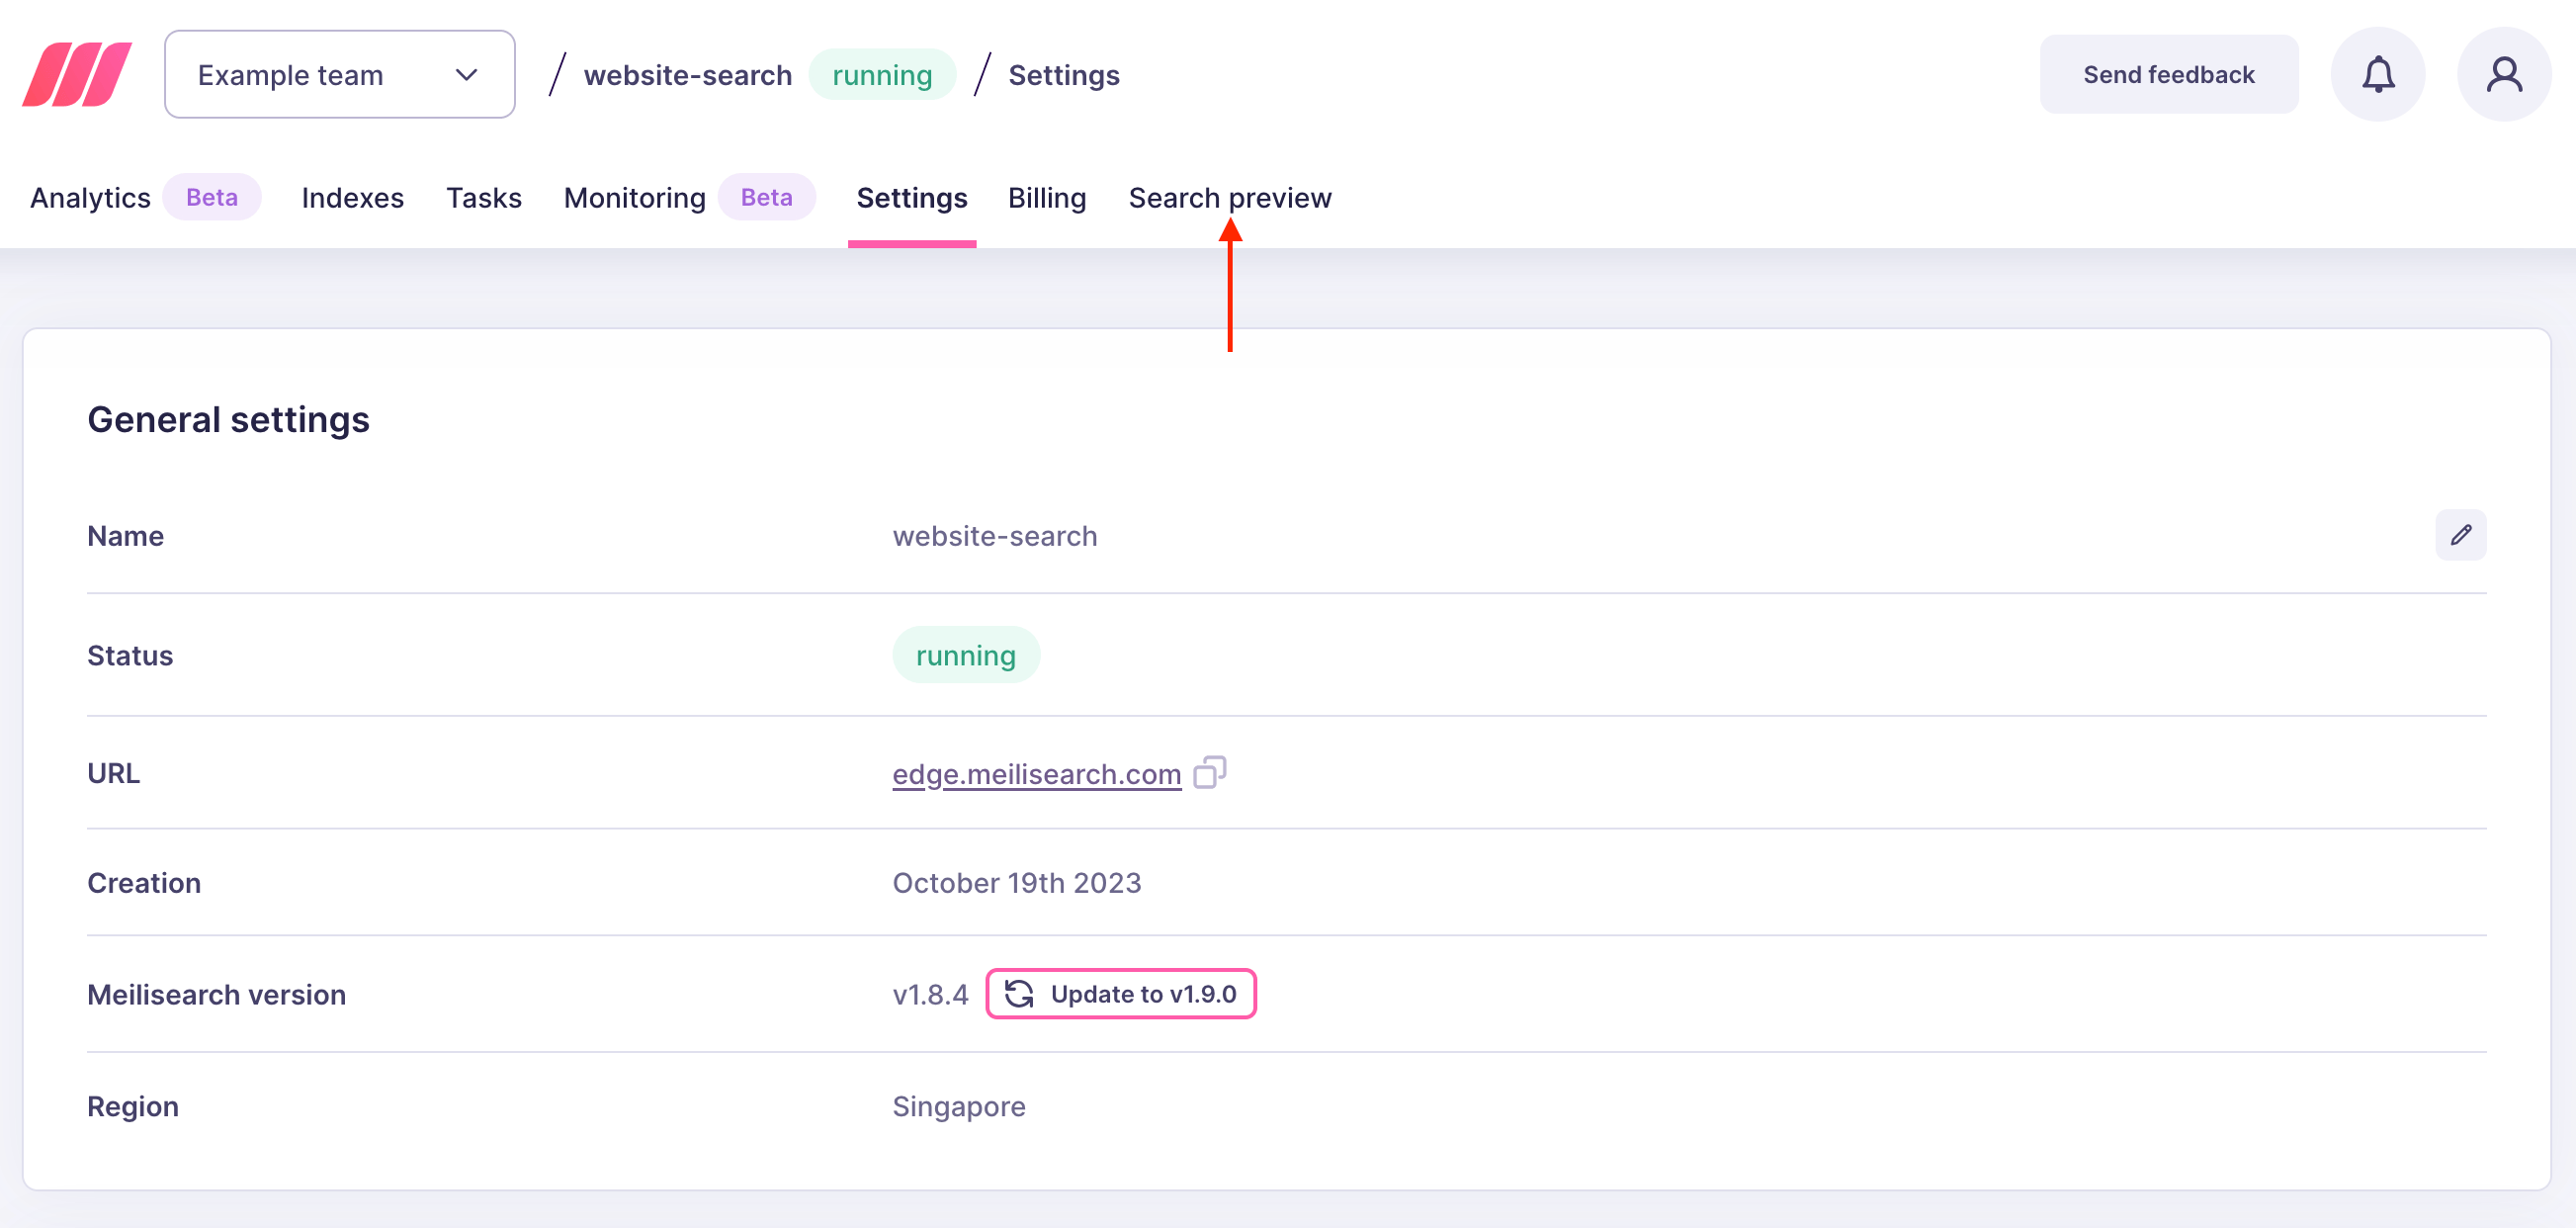
 Meilisearch Cloud will index your documents. This may take a moment. Click on "See index list" and wait. Once it is done, click on "Settings" to visit the index overview:
 ## Searching
With all data uploaded and processed, the last step is to run a few test searches to confirm Meilisearch is running as expected.
Click on the project name on the breadcrumb menu to return to the project overview:
## Searching
With all data uploaded and processed, the last step is to run a few test searches to confirm Meilisearch is running as expected.
Click on the project name on the breadcrumb menu to return to the project overview:
 Meilisearch Cloud comes with a search preview interface. Click on "Search preview" to access it:
 Finally, try searching for a few movies, like "Solaris":
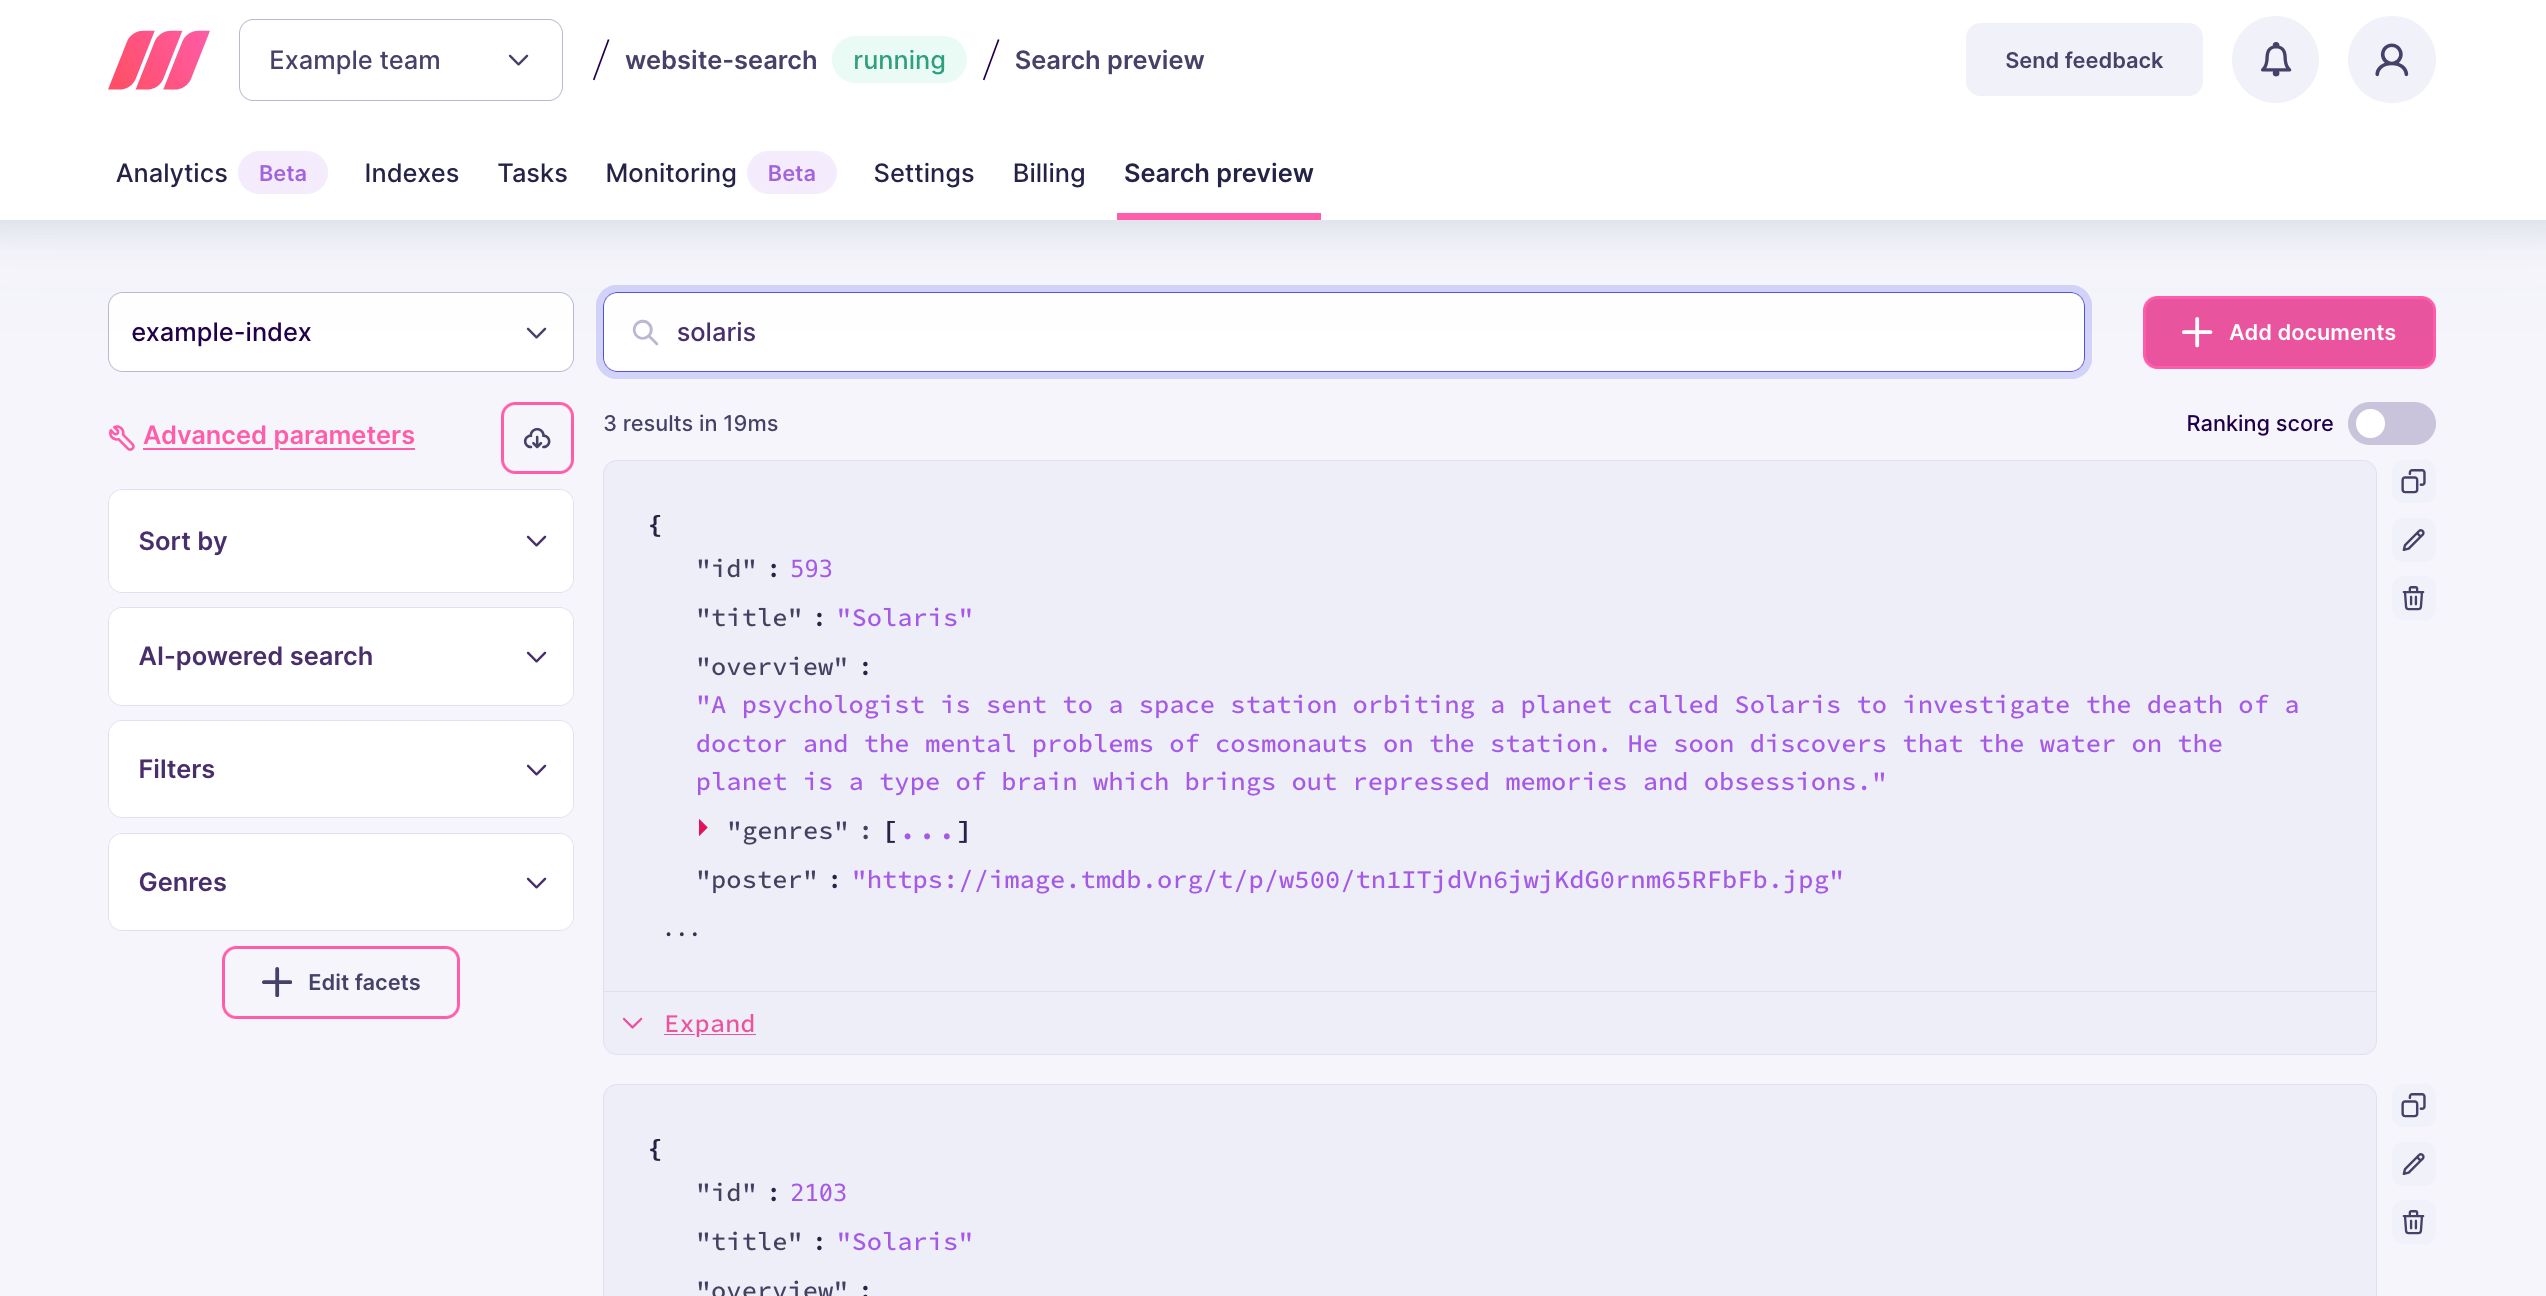 If you can see the results coming in as you type, congratulations: you now know all the basic steps to using Meilisearch Cloud.
## What's next
This tutorial taught you how to use Meilisearch Cloud's interface to create a project, add an index to it, and use the search preview interface.
In most real-life settings, you will be creating your own search interface and retrieving results through Meilisearch's API. To learn how to add documents and search using the command-line or an SDK in your preferred language, check out the [Meilisearch quick start](/resources/self_hosting/getting_started/quick_start).
If you can see the results coming in as you type, congratulations: you now know all the basic steps to using Meilisearch Cloud.
## What's next
This tutorial taught you how to use Meilisearch Cloud's interface to create a project, add an index to it, and use the search preview interface.
In most real-life settings, you will be creating your own search interface and retrieving results through Meilisearch's API. To learn how to add documents and search using the command-line or an SDK in your preferred language, check out the [Meilisearch quick start](/resources/self_hosting/getting_started/quick_start).